
I recently realized the rice packs I made years ago were beginning to look pretty tattered, so I decided it was time to make new ones!
This is seriously the easiest thing to make and you can whip out several in no time at all! I keep a few in the freezer for boo-boos and we take them in the car during the summer to help keep cool.
These are the only ice packs my kids will use because they don’t get too cold. Traditional ice packs are way too cold even when I wrap it in a towel.
The rice is the PERFECT amount of cold for the many bumps and bruises my boys get!

If you or your kids suffer from heat sensitivity, then be sure to read my post: Everything You Need to Know to Manage Heat Intolerance.
When heated relief is needed or just to warm up during the winter, I throw one of the rice packs in the microwave. It’s so cozy in the winter to snuggle up in bed with a nice warm little rice bed buddy!
Not only will you find many uses at home for these little rice packs, but they also make quick and simple gifts!
This post may contain affiliate links meaning that I may earn a small percentage (at no extra cost to you) if you make a purchase through a link that I share. See full disclosure.
What you will need to make your own hot/cold rice pack:
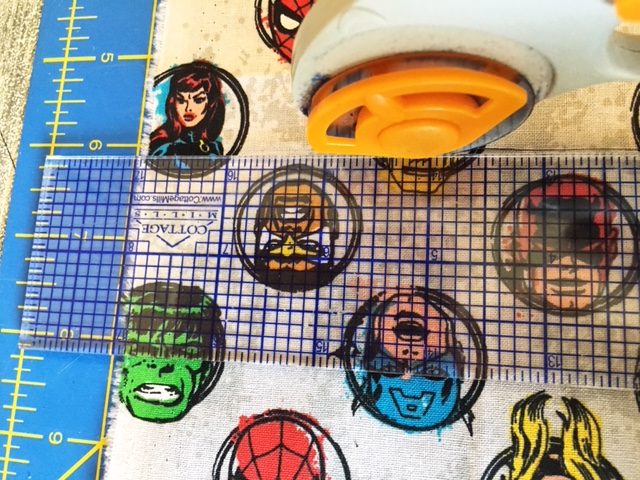
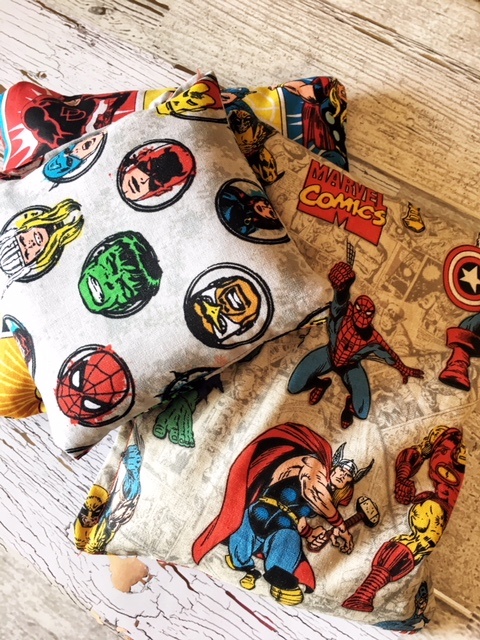
- Fabric–I like to use flannel, fleece, or minky fabric, but I found cool superhero cotton fabric at Joann for this project that I knew my twin boys would love!
- Thread
- Cutting mat
- Rotary cutter
- Thread snips
- Sewing machine
- Rice (not the quick cook kind)
**Optional: Essential Oils–Our favorites are Lavender (calming) and Peppermint (helps my sinus pressure) I just put a couple of drops directly on the rice pack right before using. The lavender is so nice to use on a heated rice pack in the winter time when crawling into bed!


RELATED: Fight Flu and Boost Immune System with Homemade Elderberry Syrup
The super simple steps to make your homemade heat pack:
Step One:
Decide what size you want your rice pack to be. I like to have various sizes so I made 6″ x 6″ and 8″ x 15″
Step 2:
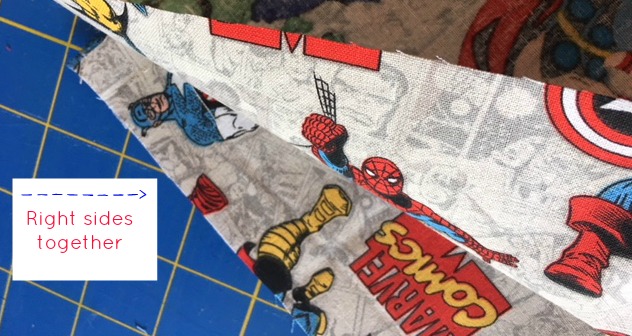
After you have cut 2 pieces of fabric to your desired size, place the fabric with the right sides together.
Step 3:
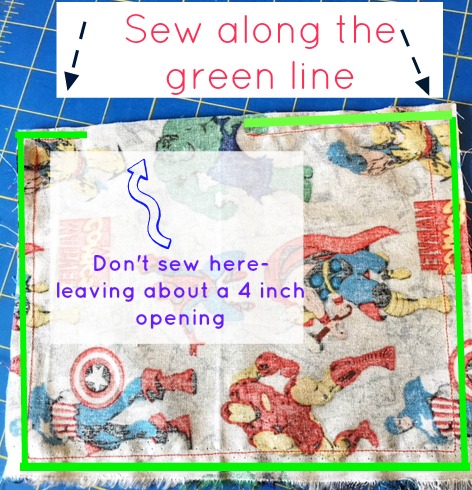
Head to your sewing machine and sew leaving 1/4 inch seam allowance. You want to sew around all 4 corners and 3 sides which will leave an opening where you will pour in the rice. It is also a good idea to reinforce the seams with a heavy-duty stitch–especially the corners.
Step 4:
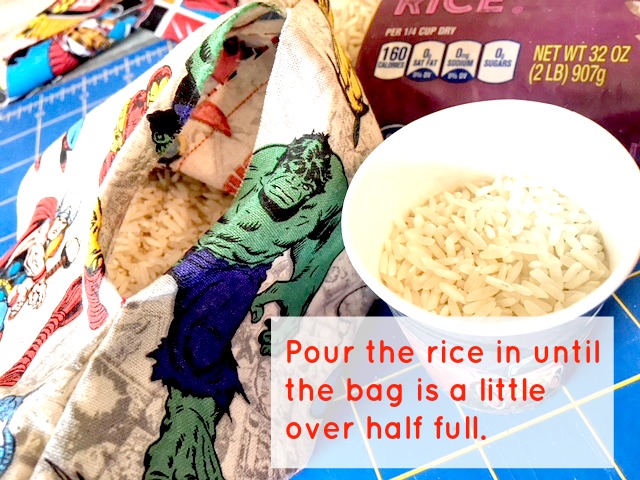
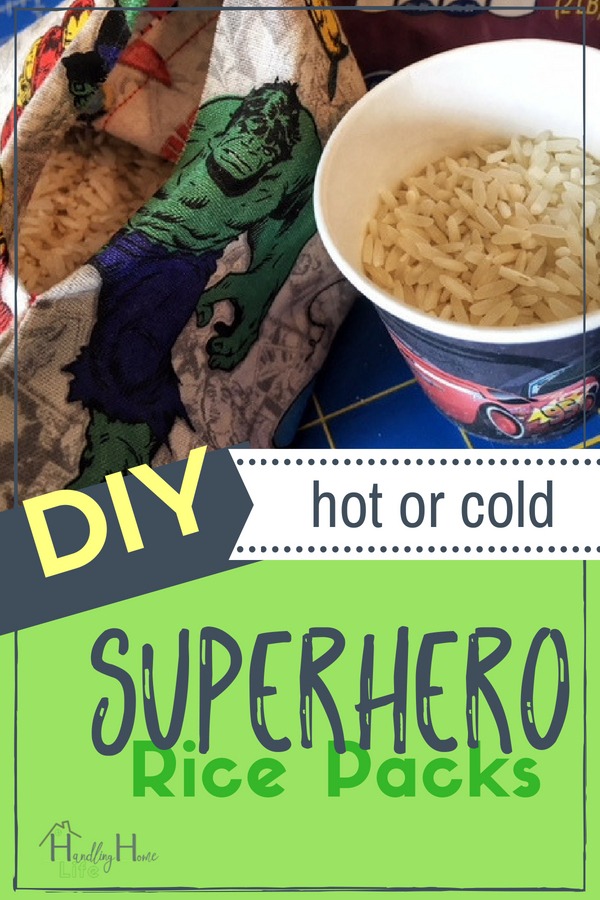
Now turn the bag right side out and you are ready to fill it with rice. You could use a funnel but I simply used a small paper cup that I had and it worked perfectly.
I find that filling about half full of rice is a good amount. You don’t want it to be packed too full of rice.
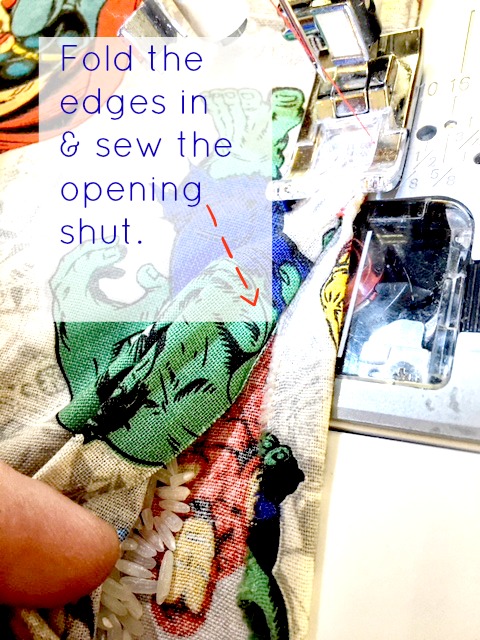
Step 5:
Now you can fold the edges of the opening in and sew the opening shut. You can pin the edges together if you have trouble keeping it closed while sewing.
Be sure to push the rice to the side so your needle doesn’t hit the rice as you are sewing.
That’s it! Now you have handy rice bags that you can give as gifts or use for yourself and your kids!
I microwave for 1 minute and then shake the rice all around to distribute the heat. Then I microwave in 15 second increments until it’s the desired temperature.
Bonus Tip: Place a cup of water in the microwave beside the rice pack to add moisture!
These little hot/cold packs are so useful! When placed in the freezer, they are the PERFECT temperature for kids’ bumps and bruises. ‘
My boys don’t like traditional ice packs for injuries because they are soooooo cold! But the rice pack is the ideal temperature.
Here are some ways we use ours hot/cold rice packs:
- tense neck muscles
- tummy ache
- foot warmer
- hand warmer
- bumps and bruises
- bug bites
- migraines
- sprained ankle
- back pain
- knee pain
- sinus pressure
- sore muscles
- cramps
- My 15 year old son recently had his wisdom teeth out and these were a life saver for his pain!
These are also great for sensory play. You can choose fabrics with interesting textures and make different sizes. The weight of the rice pack can be quite calming for many children.
I use a laundry basket and have the boys toss the bean bags into the basket for a fun activity!
RELATED: Read, How to Make a Kid’s Nighttime Sick Kit so you’ll be prepared for middle of the night tummy viruses!
Need a quick DIY gift idea? These little rice packs make a useful and fun gift!
RELATED: The 9 Best Gifts to Buy for 6 Year Old Boys
How you will use your rice pack? Be sure to share in the comments!
Would you pretty please share this on Pinterest? And while you’re there, be sure to follow me on Pinterest too! 🙂

All content here should be considered as opinion only. Always seek the advice of your own health professional for any questions or concerns you may have regarding your health or the health of others See full disclaimer.